Tempering chocolate can be an intimidating process at first, but once you do, a whole new area of the pastry field will open for you. The method described below is easy and can be used for any application which requires tempered chocolate.
If you are making chocolate mousse, brownies, ganache and many other products where chocolate is mixed into the mixture, generally it is not necessary to temper the chocolate. However when making molded chocolate, chocolate decorations, dipping chocolates, truffles or cookies or other items which require the chocolate to harden to a beautiful sheen, there is no other way but to temper chocolate.
Simply melting chocolate without tempering and then using it for final coating and molding will result in a very disappointing end product. It will take a very long time before untempered chocolate hardens and when it does, it will have a grayish coating and the chocolate will be crumbly.

Chocolate contains cocoa butter and when melted the cocoa butter crystals become unstable. The tempering process ensures the formation of stable cocoa butter crystals. Perfectly tempered chocolate and stable cocoa butter crystals will give us chocolate which hardens with a perfect sheen and a crisp snap.
Many methods of tempering are used and pastry chefs and chocolatiers may use a variety of them based upon their needs. When I need a small amount of tempered chocolate at work or at home I particularly like to use the ice bath method which I explain below.
Before we get started on tempering chocolate we have to take a closer look at what is available to the consumer at home and to the professional. The professional pastry chef is able to purchase chocolate which is labeled Chocolate Couverture. (koo-vehr-TYOOR) The labeling of Couverture basically signals to the user that this type of chocolate contains a minimum of 32 % cocoa butter. Chocolate containing less than 32 % cocoa butter will not melt to a proper workable fluid state. When melted it will be thick and be completely unusable for most dipping and other types of uses.
Do not confuse the % number you may see listed on chocolate bars, such as 60% or 70% cocoa with the cocoa butter content! This number reflects mainly the cocoa mass content-the strength of chocolate flavor and partly cocoa butter.
At the grocery store finding chocolate labeled couverture is not always easy. In fact, most chocolate sold in grocery stores contains a whole lot less cocoa butter. Now you may think great, less fat means better for me! Perhaps, but when we want to really work with chocolate, not just make brownies, but dipping and molding we do need MORE cocoa butter! We basically need couverture chocolate, the stuff which contains at least 32 % cocoa butter.
When you are looking at chocolate in the store and it is not labeled couverture, believe the manufacturer. If it was, it more than likely would be labeled as such. After all, cocoa butter is the most expensive ingredient in chocolate. If you cannot find couverture chocolate in the store, an option is to add pure cocoa butter to non couverture type chocolate. This way you bring the cocoa butter level up couverture standards and it will melt properly. Adding cocoa butter to chocolate will also make it taste better and smoother.
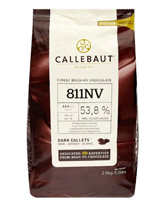
Callebaut, a very good quality Belgian chocolate can be found worldwide. In the United States, Callebaut chocolate is available in places such as Whole Foods Market. At this market, they also stock food grade cocoa butter (In the cosmetics department). So if you want to make truffles, chocolates, dip strawberries in chocolate and have a professional looking result, you know where to get the stuff! Here is what you do:
Make sure you have a thermometer. I like a simple digital one; they are not expensive and work fantastic. Select the chocolate that you prefer such as semi sweet or bittersweet. Remember the higher the % number listed on the label the stronger the cocoa flavor and less sweet it will be. If you have a scale, great! Weigh the chocolate and add 10% of cocoa butter to the chocolate. For example if you have 1 lb 2 oz (500 gram) of chocolate, add 10% cocoa butter = 1 ¾ oz (50 gram). It is ok to go up about 15% with the cocoa butter. Higher than that will make your chocolate VERY fluid. If you do not have a scale, chop the chocolate and measure in a cup. Look at the metric side of your measuring cup and note the amount, let’s assume it measures 600 gram. Then chop the cocoa butter and measure 60 gram (10%).
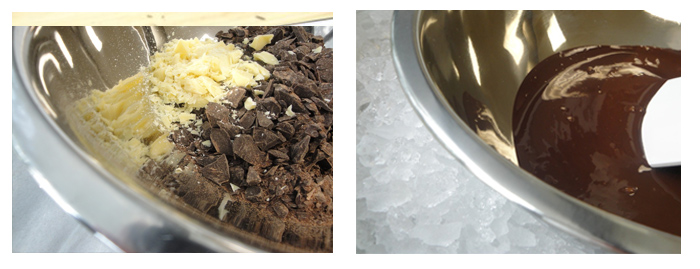
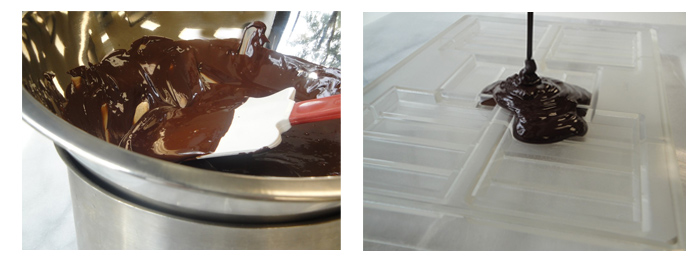
Before you begin melting the chocolate make sure that during the entire process of working with chocolate no water enters the chocolate. Water will thicken not thin the chocolate. Combine the small chopped pieces of chocolate and cocoa butter and place in a bowl. Fill a saucepan with about one inch (3 cm) water and bring to a very low simmer. Place the chocolate bowl on the saucepan (Chocolate bowl cannot touch the water!) and stir the chocolate using a rubber spatula until it reaches 115-120F(46-48C). Remove from heat and place the bowl containing the melted chocolate into a bowl filled with ice cubes, stir constantly. When the chocolate forms a firm layer on the bottom of the bowl, lift it out of the ice and stir a few seconds. Stir until the chocolate cools to 78-80F (25-26C) and then remove it from the ice. Place the bowl back over the low simmering water for a just a few seconds at a time and heat the chocolate to 86-90. (30-32C) The chocolate is now in temper! Be careful not to heat above the indicated temperatures or the chocolate will be out of temper. If you have heated above the highest allowed temperatures start the process by heating the chocolate to 115 -120F (46-48C) and continue as described.
Now you have tempered chocolate which you can use for any type of application where tempered chocolate is required. You will have this chocolate in temper as long as you keep it fluid below 90F (32C). You can set the bowl of tempered chocolate in a bowl filled with water of 90 F (32C) to keep it fluid longer. You can always re-temper chocolate. Overheated or cooled, it does not matter. You can always bring it back to temper by following the tempering process.
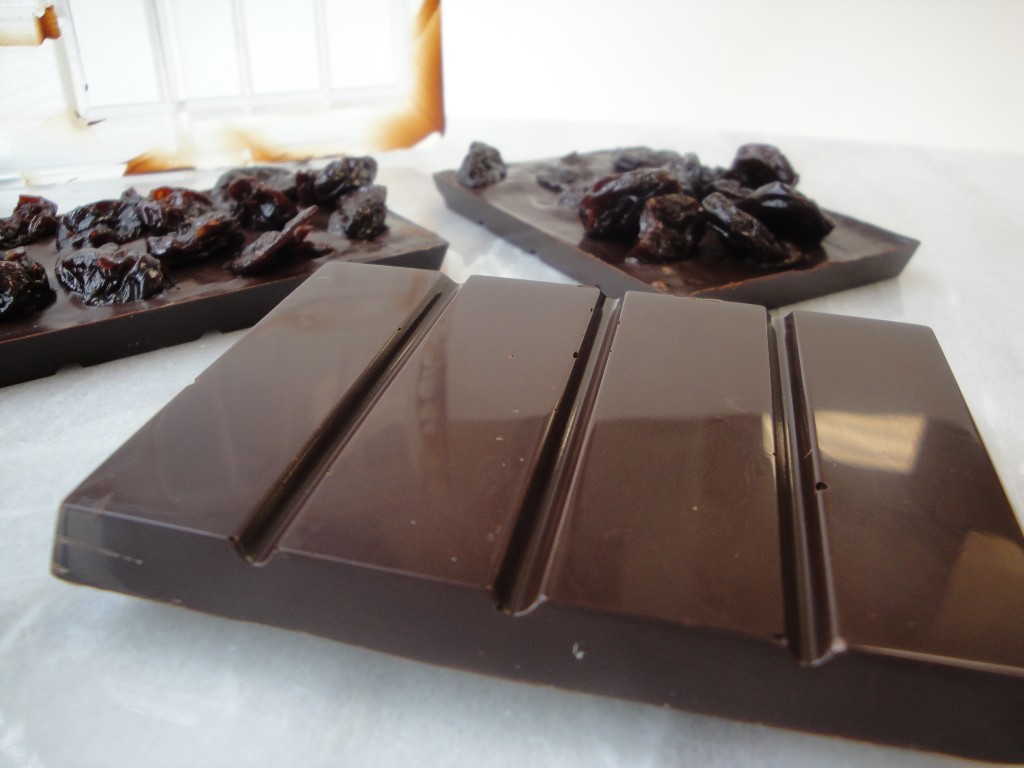
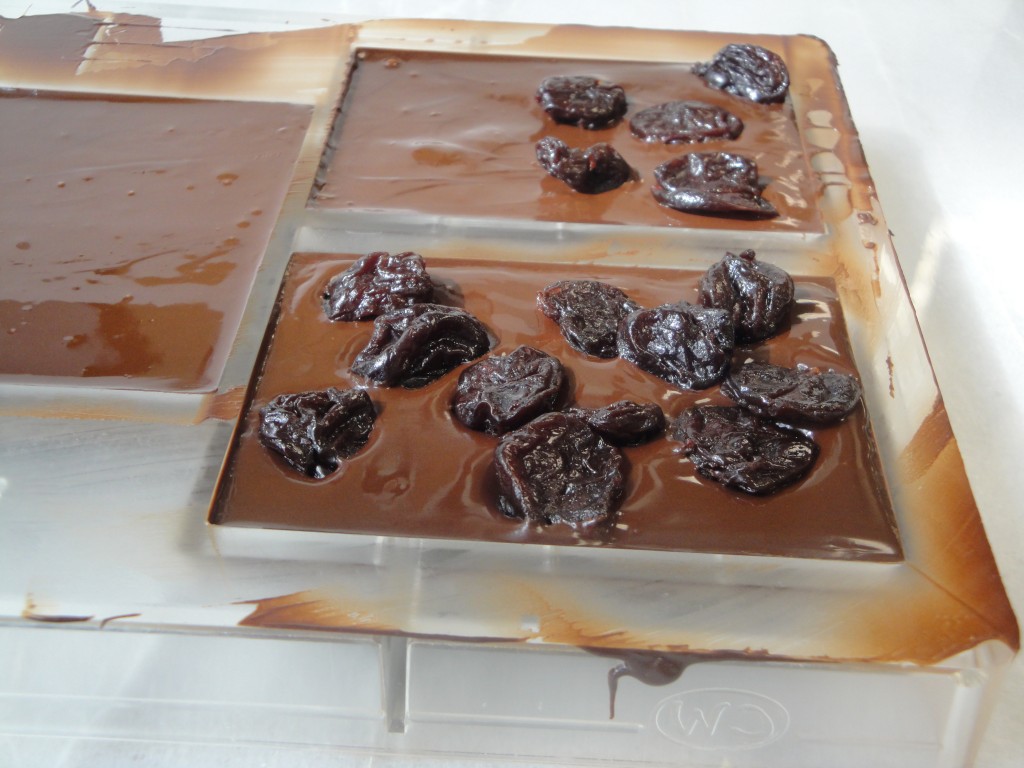
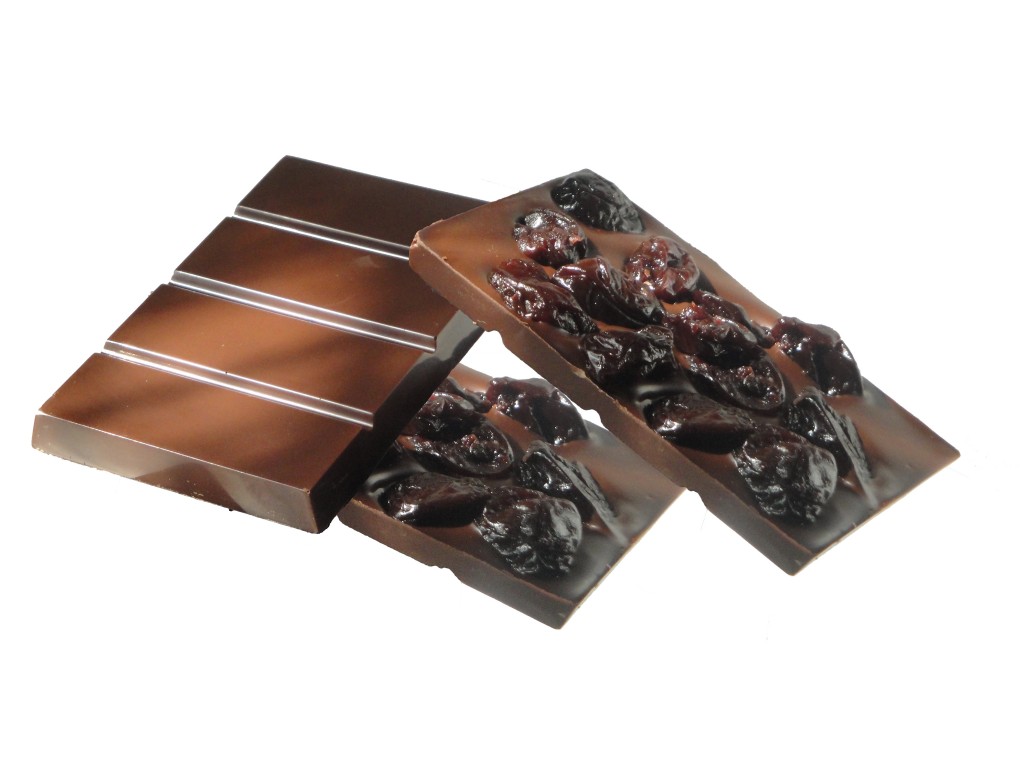
The pictures show the tempering process and the making of chocolate bars with sun dried cherries using chocolate with a 60% cocoa mass. Once the tempered chocolate is poured into the molds scrape off the excess with a pastry spatula. Immediately add the sun dried cherries. Place in a refrigerator for about 30 minutes before unmolding.
For milk and white chocolate the tempering temperatures are slightly different. Heat either chocolate to 115 and cool to 78 on ice. Reheat only to a maximum of 87.

I see that my question already had an answer on another thread about tempering chocolate. I should have read everything before asking.
Thank you so much for the help with tempering. I was wondering why my chocolate was so thick when tempered (I bought it at whole foods). I will add cocoa butter from now on unless I can get the couverture. Thanks.
Is white chocolate harder to temper? When I was trying to temper white choclate it crumbled in the pot and never melted.
Tempering chocolate isnt as hard as many believe. Just knowing what and what not to do.
This is a key technique to understand. Your decor with chocolate are delicate looking, yet sturdy. I have some practice to do. I am learning so much so fast, but need to get into the kitchen to hone the skill. Chocolate is an amazing science, I am considering going on to study with you after culinary. Is there going to be a pre requisite for this class next year? Let me know.
I didn’t know that the chocolate has to be temper, but i am learning a lot in this class and chef Eddy is a great teacher. In the other hand, working with chocolate is a science because if you don’t know how to temper chocolate the finish product will not look good.
Thank you for taking time to write this, it has really helped me. However i was wondering how do i make my own couverture chocolate, i live in Ghana a land where cocoa and cocoa butter is not hard to find. I would be very proud of my self if i could make my own, : )
I didn’t know anything about tempering chocolate before your class. I would just buy the Wilton chocolate from Walmart and microwave it. The chocolate would always turn hard and disgusting. I still have a lot more to learn and I’m looking forward to it. Thank you Chef Eddy!!
this is something i always wanted to learn, but it was tricky because if goes over 90 degrees it turned like gray. but really i learned a lot on that class
I have learned that tempting chocolate is very important and sometime even one degree in either direction could cause a problem.
Your chocolate looks amazing! I love tempering chocolate, but some time’s it is harder then it seems because I can go over one degree and it can mess up the whole chocolate and would have to restart. I feel like white chocolate is a lot harder to temper then milk chocolate and dark chocolate.
Chef,
After thinking about our exam, I know I do not understand the labeling of chocolate.
When will you teach the chocolate class again? In the fall or spring. Let me know.
thank you again for plated desserts. It was an awesome class.
Best
sherri